
Imagine you’re trying to put together a model airplane, but oops! You’ve mixed up the wings. A tiny mistake, but it makes a big difference, right? Just like in our everyday tasks, making labels needs us to be careful to avoid those “oops” moments. Making labels might seem simple, but small slip-ups can lead to big headaches. Luckily, just as we can double-check our model airplane parts, we can learn how to avoid common mistakes in label printing. In this guide, we’ll explore how to sidestep these mix-ups, ensuring our labels look just as we intended, every single time. So, let’s dive in and discover how to keep those “oops” moments away from our labels, making them perfect with every print!
The Mix-Up Muddle – Fonts and Sizes
Choosing the right fonts and sizes for labels is like picking out an outfit for school. Imagine if you accidentally wore one red sock and one blue sock because you weren’t paying attention. That’s what happens when we mix up fonts and sizes on labels – it looks a bit funny! To avoid this, think about setting up your label like planning your outfit the night before. Decide on one font and length that appears excellent and stay with it. This way, your label might be clear, smooth to read, and might not make people surprise in case you made a mistake. Just like you would not wear mismatched socks on purpose, you don’t want your labels to appearance mismatched both. So, do not forget, picking your label’s font and length cautiously is fundamental to creating it appearance its high-quality!
The Blurry Blunder – Image Quality
imagine trying to see your favorite picture but it’s all blurry, like when you forget to wear your glasses. That’s what happens if we use low-quality images on labels. It’s like looking at something through a foggy window. We want our labels to be as clear as the sky on a sunny day. To do this, we choose images that are sharp and detailed, just like how we pick a clear, bright photo for our school project. This way, everyone can see what the picture is, making our labels look awesome. Just remember, picking clear images for your labels is like choosing the best picture to hang on your wall.
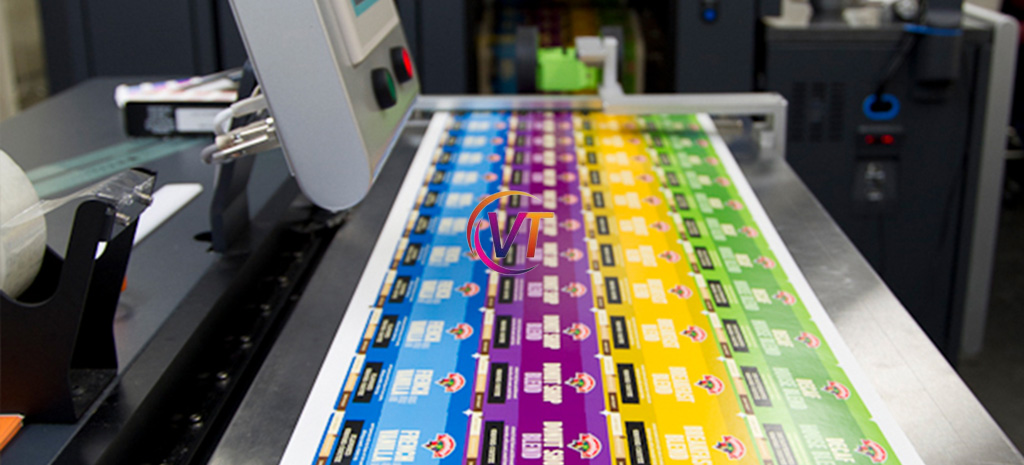
The Color Confusion – Choosing the Right Palette
Picking the wrong colors for your labels is like painting with colors that don’t match, making everything look off. Imagine trying to draw the sea but using orange instead of blue. It just doesn’t feel right. To make sure our labels look their best, we should choose colors that go well together, like peanut butter and jelly. This means thinking about what colors look good side by side and what they say about what you’re labeling. So, let’s make sure to pick our colors carefully, like choosing the perfect outfit, to make our labels pop!
The Alignment Awkwardness – Keeping Things Straight
When labels are not lined up right, it’s like putting a puzzle together where the pieces don’t fit perfectly. Everything looks a bit wonky. We need to make certain the whole lot on our label strains up just right, from the photographs to the phrases. It’s like when you’re drawing a directly line in art elegance; you operate a ruler to ensure it is no longer going off in a funny path. Making certain the whole lot is in its proper region on a label means people can examine it without problems without getting harassed or distracted via matters which might be out of vicinity. So, always double-check to ensure your labels are as neat as a well-organized bookshelf.
The Material Mix-up – Paper and Printers
Choosing the wrong paper or printer is like trying to play a video game with a TV remote—it just doesn’t work well. For amazing labels, you need to pick the right paper and printer that match like best friends. Some papers are perfect for colorful pictures, while others make text look super sharp. Also, not all printers can handle every type of paper. So, it’s like choosing the right tool for a job, ensuring everything comes out looking great
The Missing Pieces Puzzle – Complete Information
Imagine doing a puzzle but finding out a piece is missing. That’s how it feels when labels don’t have all the info they need. Make sure your label tells everything it’s supposed to, like instructions or ingredients, so no one is left guessing. It’s like giving someone a treasure map with all the Xs marked, so they know exactly where to go.
The Edge Error – Understanding Bleed and Trim Lines
Bleed and trim lines are like the borders on a drawing; they show where to cut so everything important stays in the picture. Not knowing these can make your labels look like they’ve been chopped off at the edges. Imagine drawing a beautiful picture but trimming it too close—suddenly, part of your sun is missing. Keeping an eye on these lines means your labels will always look complete.
The Design Dilemma – Simplicity is Key
Too many decorations on a label are like too many toppings on a pizza—they can be overwhelming. A simple layout may be more attractive, making it simpler for people to recognize what your label is ready. Think of it as dressing well for a special event; you need to appearance right without going overboard. Keeping your label design easy and smooth is like selecting the ideal outfit that’s just right for the event.
The Typo Trap – Proofreading
Skipping proofreading is like forgetting to check the weather before going out and ending up in the rain without an umbrella. Typos on labels can make them confusing and unprofessional. Always double-check for spelling mistakes, just like you would check your homework for errors before handing it in. This ensures your labels are perfect and error-free.
The Trial Test – Importance of Samples
Not testing your labels is like baking a cake for the primary time without tasting it before serving. You want to make sure the whole lot tastes just proper before the large monitor. Similarly, printing a pattern label first lets you test for any mistakes or upgrades, ensuring your final labels appearance and sense exactly the way you want them to. It’s like a practice session earlier than the principle overall performance, making sure everything runs easily whilst it’s showtime.
Conclusion
Remember, making perfect labels is all about paying attention to the little details and being prepared. It’s like packing your backpack the night before school; you double-check to have everything you need for a successful day. By following these simple steps, you can avoid common label printing errors and create labels with Printer that look great every time. So, let’s take these tips and start making our labels shine, knowing we’ve got all the tools we need to succeed.


